
Driving in Surrey and across British Columbia exposes your vehicle to frequent rain, gravel roads, highway debris, and sudden temperature changes—all of which increase the risk of windshield damage. When cracks or chips grow beyond repair, understanding the windshield replacement process becomes essential for your safety and peace of mind.
Many vehicle owners feel uncertain about what actually happens during replacement, how long it takes, and whether it is safe. This in-depth guide explains the step-by-step windshield replacement process explained from start to finish, so you know exactly what to expect when choosing a professional windshield replacement service in Surrey, BC.
Why Windshield Replacement Is More Than Just Glass
Your windshield is a critical structural component of your vehicle. It supports:
- Roof strength during rollovers
- Proper airbag deployment
- Advanced driver-assistance systems (ADAS)
- Clear visibility in harsh BC weather
A compromised windshield weakens your vehicle’s safety system. That’s why the windshield replacement process must be performed correctly, using approved materials and trained technicians—especially for modern vehicles driven on Surrey highways and city roads.
When Is Windshield Replacement Necessary?
Not all damage requires replacement, but replacement becomes necessary when:
- Cracks are longer than a few inches
- Damage reaches the edge of the glass
- Multiple chips weaken the structure
- Visibility is affected
- Sensors or cameras are involved
In these cases, a windshield replacement service is the safest solution.
How Windshield Replacement Works: A Clear Overview
Many drivers ask how windshield replacement works before booking service. While the process may seem simple, it involves multiple technical steps designed to restore safety and factory-level performance.
The full auto glass replacement process includes:
- Inspection and assessment
- Vehicle preparation
- Safe windshield removal
- Surface preparation
- Glass selection
- Installation and adhesive curing
- Safety checks and recalibration (if required)
Each step matters—skipping or rushing any stage can compromise safety.
Step-by-Step Windshield Replacement Process Explained
Step 1: Inspection and Safety Assessment
The first step in the step-by-step windshield replacement process is a thorough inspection. Technicians assess:
- Crack length, depth, and location
- Vehicle make, model, and year
- Presence of ADAS cameras or sensors
This inspection determines the correct windshield replacement procedure and whether recalibration will be needed after installation.
Step 2: Preparing the Vehicle
Before replacement begins, technicians prepare your vehicle to prevent damage. This includes:
- Covering seats and dashboard
- Removing windshield wipers, trim, and moldings
- Protecting the hood and fenders
These preparation steps are essential parts of professional windshield replacement steps, especially for vehicles exposed to Surrey’s wet climate.
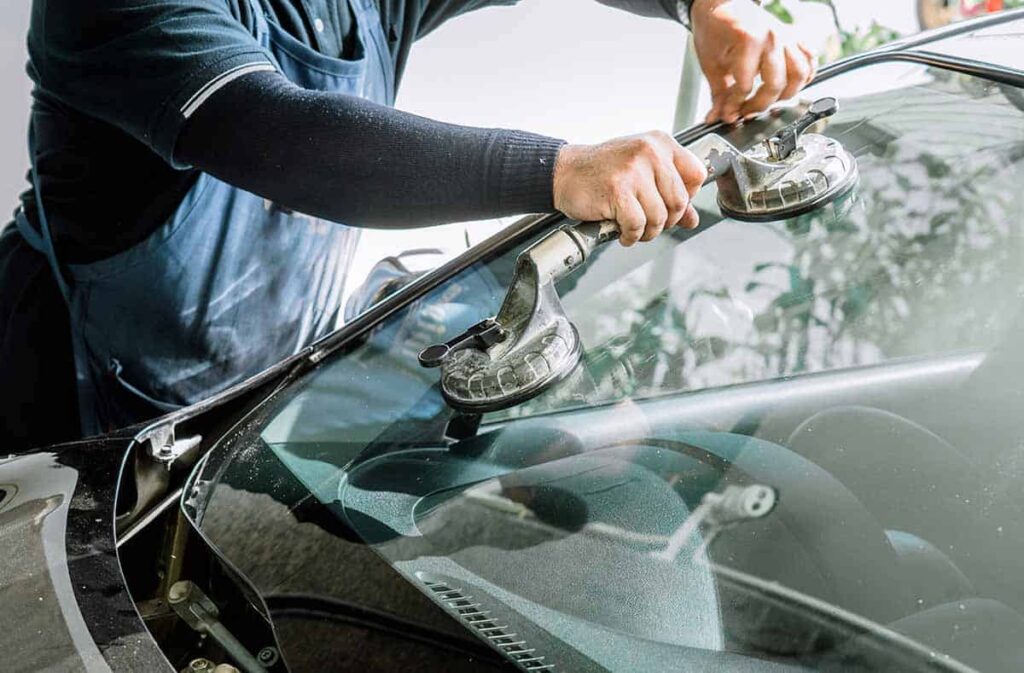
Step 3: Windshield Removal and Installation Preparation
The windshield removal and installation phase requires precision. Technicians carefully:
- Cut through the old urethane adhesive
- Remove the damaged windshield safely
- Inspect the bonding surface (pinch weld)
Any rust or debris is treated immediately. This step is critical to ensure proper bonding during the windshield installation process.
Step 4: OEM vs Aftermarket Windshield Replacement
Choosing the right glass is an important decision in the windshield replacement process.
OEM Windshields
- Manufactured to original specifications
- Ideal for ADAS-equipped vehicles
- Higher cost but perfect fit
Aftermarket Windshields
- Cost-effective alternative
- Meet safety standards
- Reliable when professionally installed
Understanding OEM vs aftermarket windshield replacement helps Surrey drivers balance safety and budget without compromising quality.
Step 5: Windshield Installation Process
Once the glass is selected, technicians begin the windshield installation process:
- Primer is applied to the glass and frame
- High-strength automotive urethane is used
- The windshield is positioned with precision
This stage of the windshield replacement procedure ensures a watertight seal and structural integrity
Step 6: Adhesive Curing and Quality Checks
After installation, the adhesive must cure to achieve full strength. During this phase:
- The vehicle remains stationary
- Leak tests are performed
- Alignment and fit are inspected
This is a crucial part of what happens during windshield replacement, ensuring long-term durability and safety.
Step 7: ADAS Recalibration (If Required)
Modern vehicles often require recalibration after replacement.
So, do you need recalibration after windshield replacement?
Yes—if your vehicle has lane departure warnings, adaptive cruise control, or collision avoidance systems.
Recalibration ensures these systems function accurately after the windshield replacement process is complete.
Windshield Replacement from Start to Finish: Time Expectations
A common question from Surrey drivers is how long does windshield replacement take.
Typical timeframes:
- Removal and installation: 60–90 minutes
- Adhesive curing: 30–60 minutes
- ADAS recalibration (if required): additional time
In most cases, the full windshield replacement from start to finish is completed within the same day.
Is Windshield Replacement Safe?
Yes—windshield replacement is safe when performed by trained professionals following Canadian safety standards.
Risks only arise when:
- Incorrect adhesive is used
- Curing time is ignored
- Calibration is skipped
This is why choosing professional windshield replacement in Surrey is essential for long-term safety.
Mobile Windshield Replacement Process in Surrey
The mobile windshield replacement process allows technicians to replace your windshield at your home or workplace in Surrey.
Benefits include:
- No need to drive with damaged glass
- Same tools and standards as shop service
- Ideal for busy schedules
Mobile services follow the same windshield replacement steps as in-shop replacements.
What to Expect After Windshield Replacement
After the windshield replacement process, technicians typically recommend:
- Avoid car washes for 24 hours
- Leave windows slightly open
- Avoid rough roads temporarily
These steps help ensure proper adhesive curing, especially in British Columbia’s fluctuating weather.
Signs of a Poor Windshield Replacement
Understanding warning signs helps protect your investment:
- Wind noise at highway speeds
- Water leaks during rain
- Uneven glass alignment
- Warning lights related to sensors
A reliable windshield replacement service will address these issues promptly.
Why Professional Windshield Replacement Matters in Surrey
Choosing professional windshield replacement ensures:
- Compliance with Canadian safety regulations
- Proper tools and materials
- Trained and certified technicians
- Warranty-backed workmanship
DIY or unqualified replacements often lead to costly safety risks.
Frequently Asked Questions
What happens during windshield replacement?
The process includes inspection, removal, installation, curing, and final safety checks.
How long does windshield replacement take?
Most replacements are completed within a few hours.
Is windshield replacement safe in cold or rainy weather?
Yes, when professionals use climate-appropriate adhesives.
Do I need recalibration after windshield replacement?
Yes, if your vehicle has ADAS features.
Can I choose aftermarket glass?
Yes, aftermarket options are safe when professionally installed.
Final Thoughts: Choosing the Right Windshield Replacement Service in Surrey
Understanding the windshield replacement process helps you make informed decisions about your vehicle’s safety. From inspection to installation and recalibration, every step plays a critical role in protecting you on the road.
Whether you choose in-shop or mobile service, a properly completed step-by-step windshield replacement process restores visibility, strength, and confidence—ensuring your vehicle is ready for Surrey’s roads and weather conditions.